Blog
Wrap Text in Excel and Fix Row Height
 Sik Yang · Jan 11, 2026
When creating tables in Excel, you’ll often run into situations where text entered in a cell appears on a single line or spills far beyond the cell width.
Even though the content is there, it looks cut off on the screen, forcing you to repeatedly adjust column widths back and forth.
These issues are more than visual inconveniences. They reduce readability and make reports harder to manage.
The problem becomes more noticeable in files where text plays a central role, such as survey results, CRM notes, or management sheets.
In these cases, properly setting text wrapping inside Excel cells directly affects how clearly the information can be read and shared.
In this guide, we’ll explain how text wrapping works in Excel, why AutoFit row height sometimes fails, and which cell settings you should always check when text wrapping doesn’t work as expected in Excel.
Why You Need Text Wrapping Inside Excel Cells
Excel is primarily designed for numbers and short entries. As a result, when text inside a cell becomes long, Excel tends to display it on a single line rather than automatically breaking it into multiple lines.
If the cell to the right is empty, the text flows into it; if it isn’t, the text appears cut off.
This causes long sentences to overflow outside cells or makes entire tables look cluttered and hard to read.
In reports or survey results where information needs to be understood at a glance, poor text wrapping directly hurts readability.
For that reason, enabling Wrap Text is essential when working with long text entries.
How to Set Up Text Wrapping in Excel Cells
Enable Automatic Text Wrapping (Wrap Text)
You can enable text wrapping in just a few steps.

- Select the cell or range of cells where you want to apply text wrapping.
- Go to Home → Alignment → Wrap Text.
This feature automatically breaks text into multiple lines based on the column width. However, it’s important to understand that Wrap Text only controls how text is displayed—it does not automatically adjust row height.
Insert Line Breaks Manually with a Shortcut
If you want to insert a line break at a specific point in a sentence, you can use the Alt + Enter shortcut. This shortcut is useful when separating structured content such as addresses or bullet-style entries within one cell.
Keep in mind that even with Alt + Enter, text may still appear hidden if the row height doesn’t expand. Both automatic and manual line breaks must be combined with proper row height settings to display correctly.
Why AutoFit Row Height Doesn’t Work in Excel
If nothing changes after enabling Wrap Text, the issue is usually that AutoFit row height isn’t working. In many cases, text wrapping is technically applied, but the row height does not expand, which makes it look like wrapping failed.
The most common reason is that the row height was manually adjusted in the past. Once a row height is set manually, Excel stops recalculating it automatically. Another frequent cause is merged cells. When cells are merged, Excel can’t accurately calculate the required row height, so AutoFit fails. Copied formatting and vertical alignment settings can also interfere with automatic row height adjustment.
How to Properly AutoFit Row Height in Excel
AutoFit by Double-Clicking

The quickest method is to double-click the boundary between row numbers. If the row contains wrapped text, Excel will automatically resize the row height to fit the content. This also works when multiple rows are selected at once.
AutoFit Row Height Using the Menu
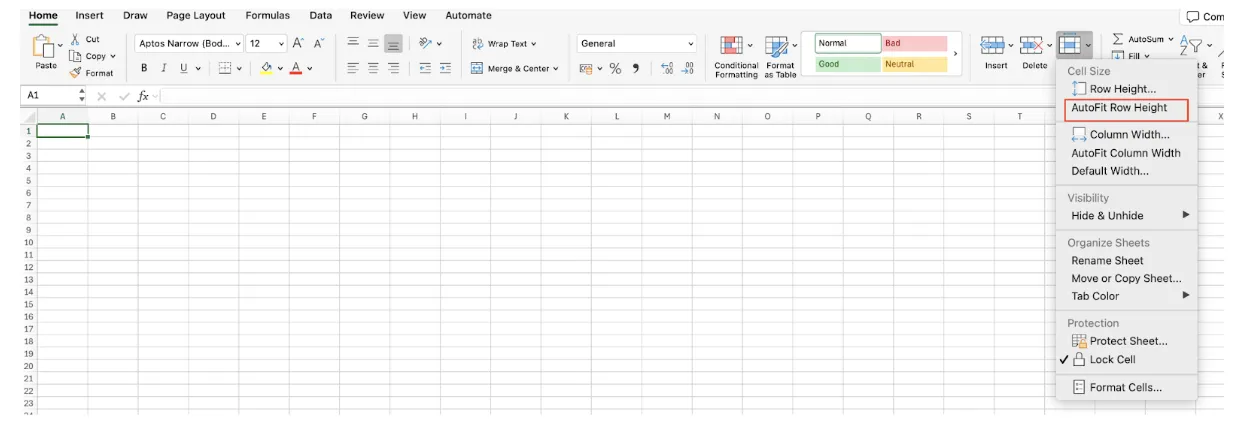
You can also use the menu path Home → Format → AutoFit Row Height.
This method is especially useful in reports with many rows. Remember that Wrap Text and AutoFit Row Height must be used together.
Cell Formatting Settings to Check When Text Doesn’t Fit
Check Horizontal and Vertical Alignment
If wrapped text still looks off, review the cell alignment settings. Keeping horizontal alignment at the default is usually best. For vertical alignment, Center or Bottom usually improves readability compared to Top alignment. When vertical alignment is locked to the top, text may appear clipped even when wrapping is enabled.
Understanding Column Width vs. Row Height
If a column is too narrow, Excel will wrap text excessively, making it hard to read. On the other hand, if a column is too wide, wrapped text may still appear as a single line. Column width and row height should always be adjusted together for optimal results.
Why Text Wrapping Fails in Merged Cells
Merged cells may look convenient, but they interfere with text wrapping and AutoFit row height. Because Excel can’t accurately calculate the height of merged cells, wrapped text often fails to display properly.
Instead of merging cells, it’s more reliable to adjust column widths or use alternatives like Center Across Selection for layout control.
Recommended Text Wrapping Workflow for Real-World Use
In most real-world workflows, the most stable approach is to avoid merged cells and use Wrap Text together with AutoFit Row Height. When the cell structure is clean, sorting, filtering, and sharing files become much smoother and less error-prone.
Frequently Asked Questions About Excel Text Wrapping
Q1. Wrap Text is enabled, but the text still appears on one line
This usually happens because the row height is manually fixed. Wrap Text and AutoFit Row Height are separate features. Even if Wrap Text is enabled, the text won’t display properly unless the row height expands. Try double-clicking the row boundary or using Home → Format → AutoFit Row Height. Also check whether the cell is merged, as AutoFit often fails in merged cells.
Q2. AutoFit Row Height doesn’t work for specific cells only
If AutoFit works in some cells but not others, those problem cells likely contain merged formatting, hidden styles, or copied formatting from another source. Check for merged cells first, then clear formatting and reapply Wrap Text and AutoFit. Using “Paste Values” instead of normal paste can also help resolve stubborn cases.
Q3. Formatting breaks when I copy wrapped cells
This happens because Excel copies row height, alignment, and wrapping settings along with the text. To avoid this, use Paste Values and then reapply Wrap Text and AutoFit Row Height in the destination cells. Standardizing cell formatting before copying is especially helpful for reports and shared files.
Excel Text Wrapping: Key Takeaways
Wrap Text and AutoFit Row Height are not the same feature. Most text display issues are caused by cell formatting settings. When text wrapping doesn’t work, always check for merged cells and fixed row heights first.
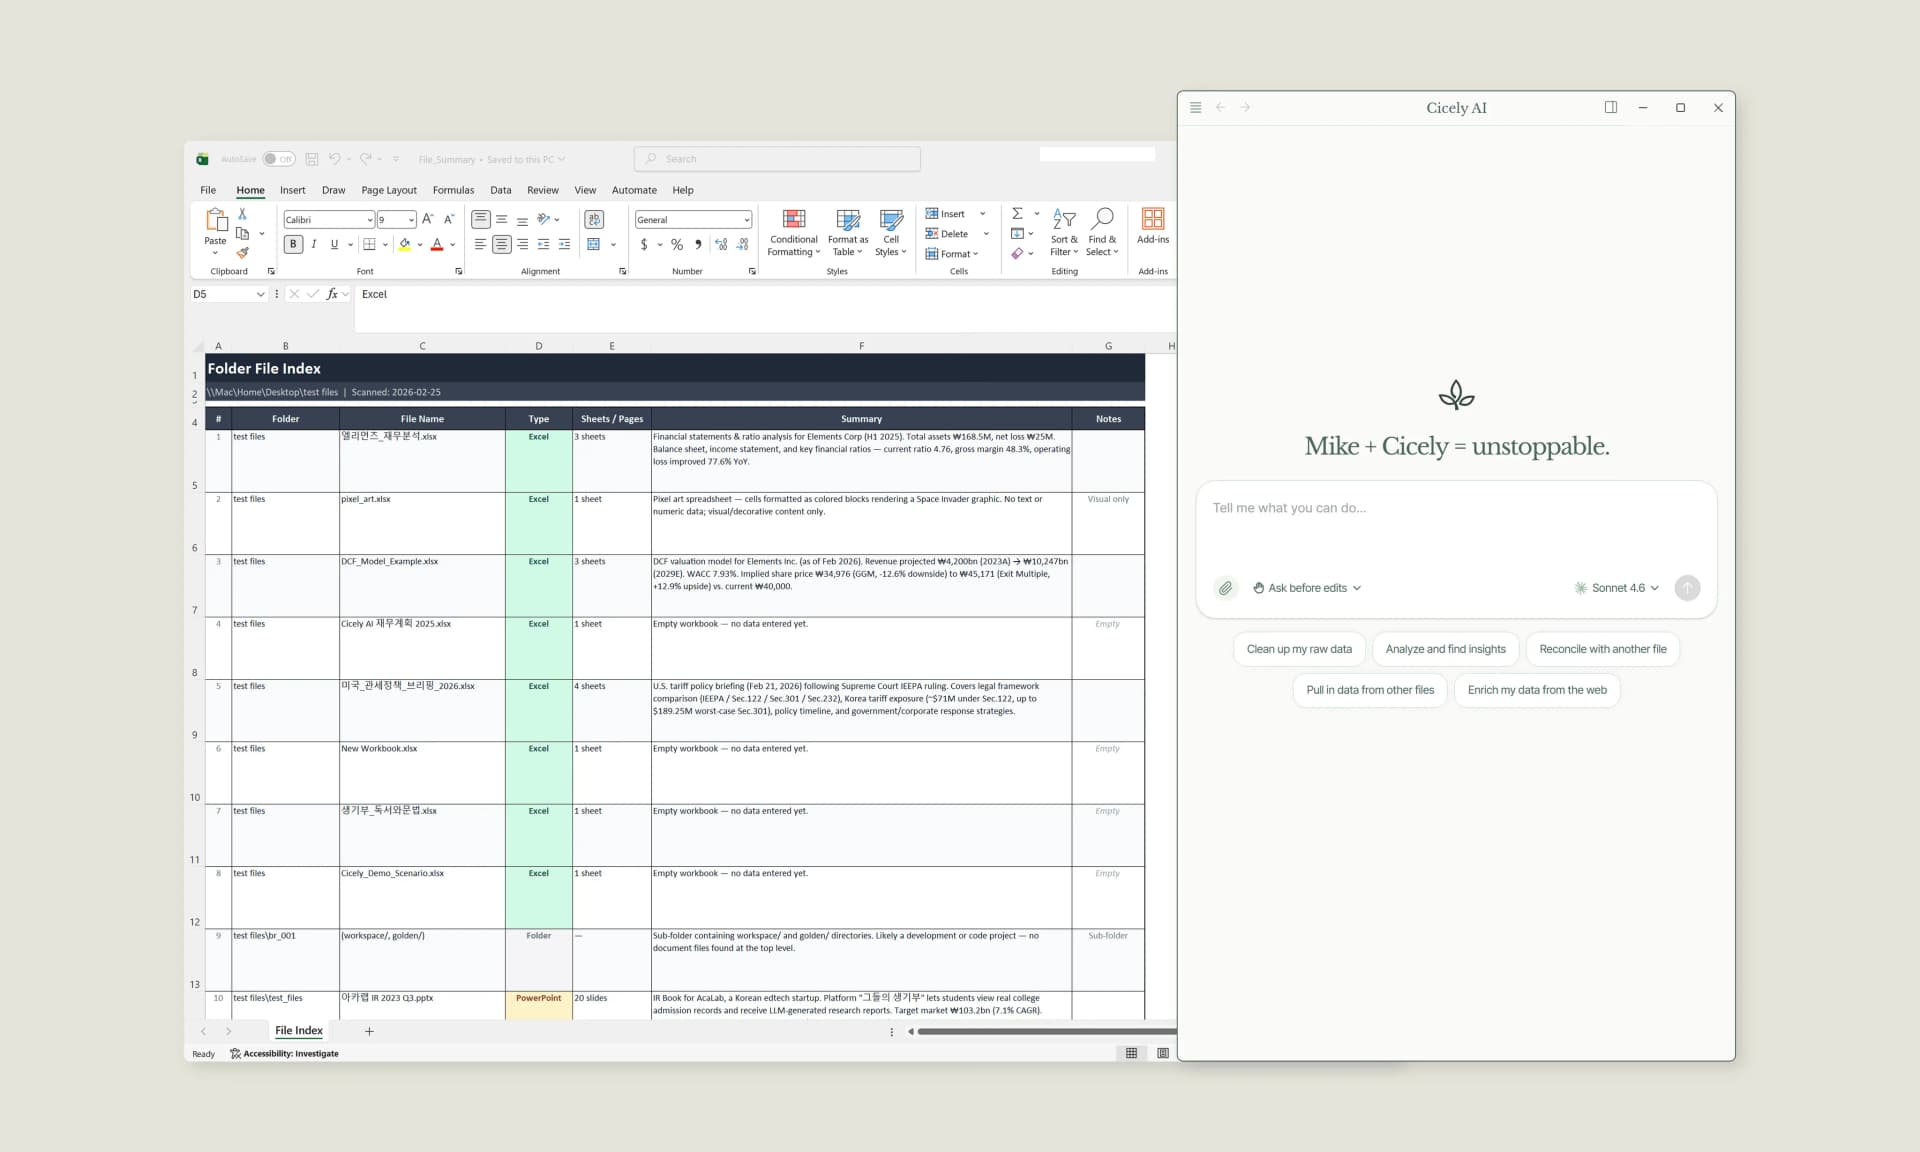
Work More Efficiently in Excel with Cicely AI
Cicely AI is a desktop-native AI coworker for Excel on Windows. It helps you clean up data, fix formulas, reorganize worksheets, and automate repetitive spreadsheet work with natural language while keeping files local on your PC.
Everything runs locally on your PC. No file uploads. No browser tools.